
This post will explain wooden magazine files. You might be thinking, “Aren’t magazine file holders currently simple to find and quite inexpensive?” It gets back at easier and cheaper, my friend. One sheet of plywood = EIGHTEEN files! At $3.50 per top-grades plywood file, I was completely on board.
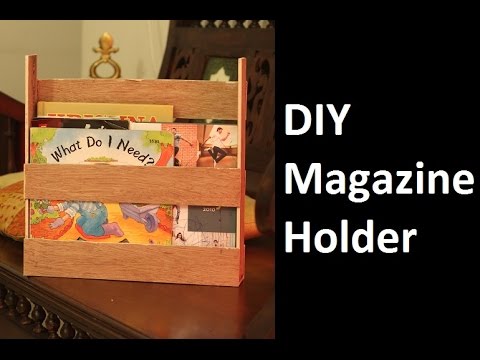
DIY Wooden Magazine File Holder In 2021
In this article you can know about wooden magazine files holder here are the details below;
Cords Organization with Bungee Cord & Wine Cork
I was motivated by Ana White’s preparation for the exact same, and I followed her cut list on a 4′ x 4′ sheets of plywood (half of a full-size sheet). One complete sheet makes 18 files!! I made nine, and even that felt generous. Also check another post like craft tables with storage.
To make nine wood publication file holders, you will require:
– 1 half-sheet (4 ′ x 4 ′) of plywood, 1/4 ″ thick. (Use a complete sheet for 18.) I sprang for hardwood ply due to the fact that I’m worth it.
- – 1 × four length of timber, 8′ long. Technical note: my piece was really 19mm x 90mm x 2.4 m because of the metric system. The real size is nearly the same.
- – PVA glue
- – Quality painter’s tape
- – Clamps (optional).
- – Finishings of your option: paint, varnish, decoupage paper, etc
How to make the Wooden Magazine Files Holder: Step by Step Project.
Cut the board into three ten ″ large strips and 3 4 ″ broad strips, as revealed. If you ask well at the hardware shop, they can cut the strips for you. You can saw through the remainder with whichevers saw you have at home, and even a hand saw if essential.
I used a circular saw to makes the long cuts. (To direct it on a straight line, I clamped a spare one × 4 to the plywood to function as a guides for the saw.) The routes were done on a drop saw, which was easy to set on a 30º angle.
- Using the 4″ strips, cut 9 pieces that are 6 1/4″ long.
- Using the 4″ strips, cut 9 pieces that are 12″ long.
- Using the 1 × 4, cut 9 pieces that are 10″ long.
So you ave got all your pieces cut. Great! Time for assembly. These are the pieces you needs for each file.
Glue the base piece down the edge of one side, focused. Then glue the other sides piece to the base. Tip: use a spare one × 4 area to prop up the piece while gluing.
Use painter’s tapes to hold together all the pieces as you glue them together– sides, front, and then back.
( If you have clamps, they also get the job done but I found the tapes to be gentler and easier for positioning the timber.). Also check diy crepe paper leaf branches.
I left the glue to dry overnight. The next day, I added an touch of wood putty in some of the fractures for a flush surface. Light sand looked after any mess from the glue and putty.
My pieces of plywood were beginning to appear like publication files!
I went for a very easy finish on these files, in a similar vein to my Scandi dresser remodeling: I used danish oil on the sides and semi-gloss paint for the fronts and backs.
( As an additional safety measure, I even put little felt feet on the bases.).
I gave them another couples of days for the surfaces to cure and then excitedly placed them in my research study.
Pretty good-looking, hey? I like the serious profile of my files, all straight lines and solid-colored panels. I have a thing for Scandinavian-influenced minimalism!
There are many concepts for personalizing them with your own styles: polka dots, crosses, stencils, stripes, chalkboard paints, decoupaged paper with mod podge … it’s unlimited. You can also find label services at a craft stores and add those on, too. I keeps my files mag-side out, so I did not stress over it. Also check bathroom lighting fixtures.
This bookshelf is looking tidier than ever. (There are five here. However, the other four are about to sign up with the team very soon.) Even IKEA couldn’t sell me wooden magazines files this cheaply– if you need loads of these, absolutely provide it a shot-making your own!