
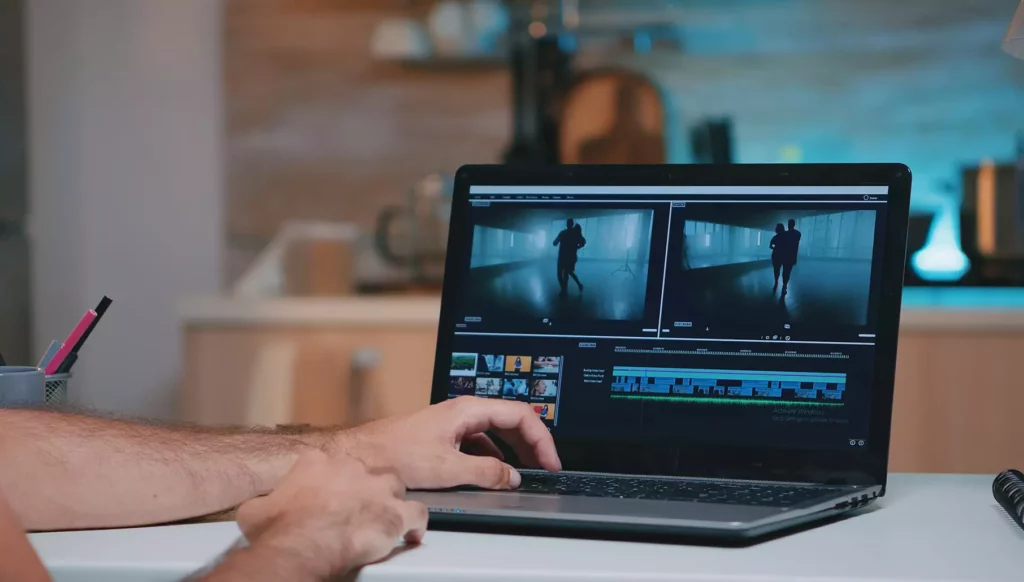
In recent years, the idea of “Everyone can be a vlogger” has been widespread all over the world. The video industry witnesses the rapid development of self-media. A huge amount of vlog videos appear in different social media sites like YouTube, Instagram and Twitter, etc. However, some users are faced with problems when they try to have their vlog videos uploaded and shared on those social media services, including long uploading process or uploading error caused by big video file size. So, how to reduce the size of vlog videos for easy uploading and sharing?
Why you have to make vlog video smaller
First, let’s talk about the video itself. Today we chase for increasingly better video quality, like HD, 4K or even 8K videos. However, this leads to larger video file size in the same way. Why? Better video quality makes the resolution and frame rate of video higher, so the file size gets larger accordingly. And the bit rate (the amount of data per unit of time) of those HD vlog videos is higher, too.
Next, the social media sites. It has to be noted that all those social media platform have made it clear that what the maximum size of video uploaded is. If your video size is beyond the limitation, then it cannot even be uploaded at all. Or, the file size does not reach that maximum but it’s still large. That will make the uploading process quite lengthy and annoying. Sometimes uploading error can prompt up, interrupting the process. Therefore, it’s quite necessary to reduce vlog video size to efficiently upload and share.
How to downsize vlog video
Many users will turn to online video compressing tools for help. However, commonly online video reducers can process video that is not larger than 500MB. For vlog videos, it’s quite easy to be bigger than that. At this moment, desktop program is a good choice. After searching, we pick WinX Video Converter to present video reducing tutorial for the following reasons:
- Compression ratio is of the greatest importance, and this software can make video much smaller after compression—up to 90% vlog video size reduction can be achieved.
- It will not damage your vlog video quality after compression.
- The processing time also will not let you wait for a long time.
Then how to reduce vlog video size using it? It takes three steps:
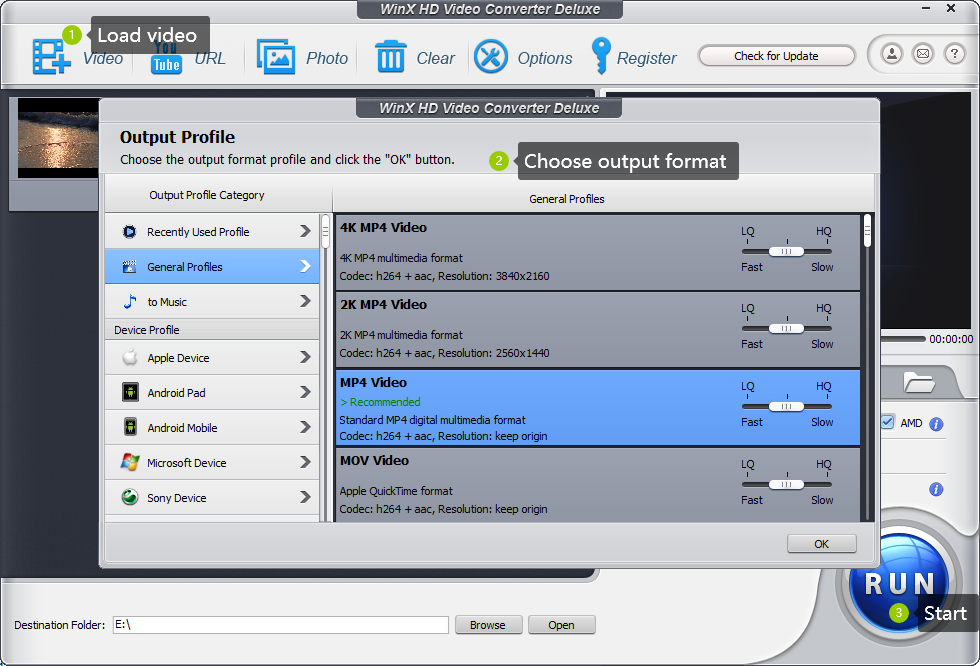
Step 1: To upload the video file, you have to click on the “+ Video” button. Drag and drop the file onto the UI interface works as well.
Step 2: The “Output Profile” appears and here you can choose output format. A more advanced codec is what you need. For instance, you can choose a format with the codec HEVC to get higher compression rate when the original one of your vlog video is H.264.
Step 3: The blue “RUN” button is where you can get the compression started.

Besides, if you need to reduce video file to an even smaller size, you can make adjustment on the video parameters, including lowering resolution, bit rate (not a large reduction) and frame rate (recommend to keep original). Moreover, related editing functions can also be made use of. You can cutting out some parts or do some cropping on the image.
Noted: If you have the need to convert video, there are also hundreds of formats to choose. Inputs and outputs are large in number, like AVI to MOV, MP4 to HEVC or WebM to MP4, etc. Additionally, the auto subtitles on some websites may not be so accurate, so you’d better add subtitles to your videos, and WinX Video Converter can help you with that. Doing this is conducive to make your vlog video understood by a larger population.
Summary
Video is booming. In an era of vlog, everybody has a chance to do better in this field. However, large vlog video size causes problems, even though they shouldn’t. For efficient uploading and sharing your special vlog videos to social media sites, you can get access to video compressors. WinX Video Converter can downsize video up to 90% with intact quality. For that, it is one of the good choices.