
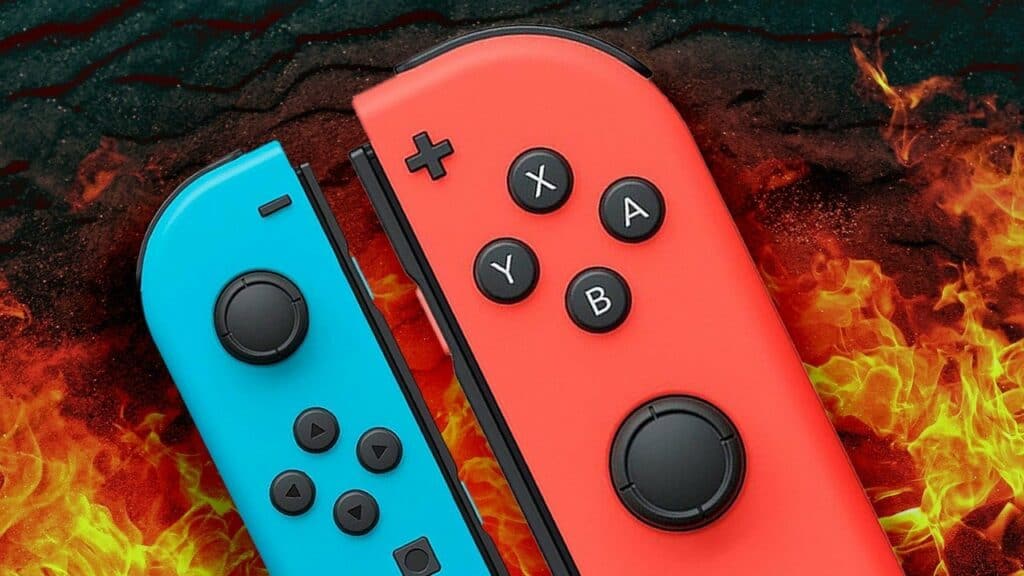
Best ways to fix joy con drift on your Nintendo will be described in this article. Since the launch of the system, Joy-Con drift has been a problem for Switch owners, giving the impression that a phantom thumb is pulling on the control stick even when you aren’t touching it.
After several years, there is still no conclusive answer.
However, there are a few troubleshooting methods you can use to fix Joy-Con drift on your own.
Top 9 Ways How To Fix Joy Con Drift In 2024
Top 9 Ways How To Fix Joy Con Drift are explained here.


You can change the functions of the different buttons on your Switch to make the controllers more usable by using button mapping.
Additionally, you can alter the orientation of your control stick via button mapping.
Return to the Home screen & look for a Switch or Joy-Con icon with a wrench on it in the bottom-left corner to see if button mapping is enabled on your Switch.
Icon for switch button mapping
To reset each Joy-Con to the default button mapping, navigate to System Settings > Controllers and Sensors > Change Button Mapping and tap Reset.
2. Check Your Controllers Are Connected Correctly

Nintendo advises you to verify that your Joy-Con controllers are correctly communicating with the Switch system.
Go to the Home screen and select the Controllers button to do this. Also check NFT Metaverse Play to Earn Crypto Games
All of the controllers that are currently paired with the Switch are displayed on the left side of the screen, along with information on whether or not they are registering as attached or detached from the Switch.
Verify that this corresponds to reality and move your Joy-Cons about the console to check if the image changes to reflect this.
Modify the Switch settings’ Grip:Order setting.
Press the negative (-) or plus (+) button under Change Grip/Order if your Joy-Cons aren’t properly registered.
Then pair your Joy-Cons once more by following the on-screen prompts.
3. Update Your Switch System
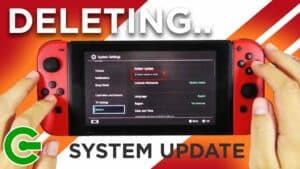

The majority of Joy-Con drift issues are hardware-related, but there’s a potential that yours is software-based, in which case an update should usually fix the issue.
The best way to fix any software-related issues with the Nintendo Switch is to update the operating system.
The first step is to confirm that your Switch is Wi-Fi connected.
Simply navigate to the Home screen, select System Settings > System, and then select System Update.
Your Switch will scan for fresh updates and download and apply any that are found.
4. Update Your Joy-Con Firmware


You must update both the Joy-Con firmware and the Switch’s operating system.
It’s crucial to update the Switch system first since you might require the most recent version of the operating system in order to use the most recent Joy-Con firmware. Also check funny discord bots
Go to Home System Settings> Controllers & Sensors & select Update Controllers after updating your Switch system.
Each controller on your Switch will receive an update one at a time.
Before testing your Joy-Cons once more, wait for all updates to be finished.
5. Recalibrate Your Control Sticks

It’s conceivable that the calibration has changed and is the reason your Joy-Con control sticks are pulling to one side.
This indicates that the control stick sensors are no longer able to perceive the shape of a centred control stick. Also check xbox one wont turn on
Recalibrating your power sticks in the Switch settings can quickly fix this.
Select System Settings > Controllers and Sensors on the Home page, then scroll down to Calibrate Control Sticks.
To recalibrate your control stick, adhere to the onscreen directions.
You must ensure that the cross icon displays in the circle’s centre.
Screen for calibration of the switch
Additionally, you can press Y to instantly reset your control stick to its factory settings, but this will only function if the control stick itself is in perfect working order.
6. Check for Game Software Update


Playing the same few games consistently causes your Joy-Cons to drift, which may indicate a problem with those specific games.
On your Nintendo Switch Home screen, choose the pertinent game. Then, hit the plus (+) button and choose Software Update > Via the Internet to check for updates.
Additionally, check the game’s information online to see if it employs tilt controls.
Your Joy-Cons might be functioning fine, but they keep tugging to the side if you tilt them without noticing the effect you’re having. Also check Game Maker Software Programs
Breath of the Wild & Mario Kart 8 Deluxe are two games where this happens frequently.
7. Remove Any Skins or Covers

The Nintendo Switch may be personalised with skins, covers, cases, and other accessories by many individuals.
While they are wonderful ways to give your Switch more individuality, the adornments can prevent your Joy-Cons from performing as intended.
Remove any skins, stickers, or shells from your Joy Con controllers to see if this has any impact, especially if they wrap around the front of the controller very next to the control sticks.
8. Clean the Joy-Con Control Sticks
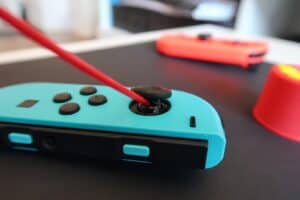

Joy-Con drift is frequently brought on by dirt and grime accumulating inside the control stick mechanism.
You can still remove this dirt to fix your Joy-Con if you don’t want to completely disassemble it and violate the warranty in the process.
You’ll require the following in order to complete this task properly:
Contact cleaner, sometimes known as switch cleaner occasionally
Pull the power stick to one flank, then use the tweezers to raise the thin cover to reveal the mechanism so you can clean your Joy-Con.
Blast any grit or grime off of it with with compressed air.
From various positions around the control stick, repeat this.
Removing the Joy-control Con’s stick cover from the Nintendo Switch
If it doesn’t work, push the control stick around while squirting a tiny bit of contact cleaner into the mechanism.
Apply very little liquid, and only use contact cleaner, which is easily obtained at hardware stores.
Your Joy-Con could become damaged if you use any other liquids, such as lubricant, oil, water, or alcohol.
9. Send Your Joy-Con to Nintendo


If all else fails and your Joy-Con continues to drift, you should consider mailing it to Nintendo for a physical repair. Also check Ways to Fix Unfortunately App Has Stopped
You will have to do without your controller for a few weeks as a result, but it will be worthwhile in the end.
If your Switch is always covered by warranty, Nintendo will make the necessary repairs at no cost.
Since Joy-Con drift is so common, Nintendo has been known to fix the problem for free even if you’re past the warranty period.
To send your Joy-Cons for repair, go to Nintendo’s page on the subject.
Only the problematic Joy-Con should be sent, not the Switch system or any other accessories.
Failing All Else, Try a DIY Fix.
Occasionally, you are unable to return your Joy-Con to Nintendo for repair. This could be due to the fact that Nintendo’s repair service is unavailable in your nation or that you have already dismantled the Joy-Con and invalidate the warranty.
However, even in this scenario, you still have choices.
Online, there are many DIY solutions for Joy-Con drift.
These range from disassembling your controller entirely and swapping out parts to tucking a piece of paper under the control stick.